If you want to make calls to any of the OpenAI models, you’ll need to buy OpenAI platform credits to access the API. If you’re a developer who’s building an application the relies on an OpenAI model, you’ve probably figured out how to do that already.
What you might not know is that you may also need to buy OpenAI platform credits if you want to build OpenAI automations in a tool like Relay.app, Zapier, or Make. For most tools that call the OpenAI API, platform credits are required to use OpenAI models to run automations or AI agents.
And here’s where it gets confusing: OpenAI platform credits are totally unrelated to your ChatGPT subscription! So even if you have a ChatGPT Plus account, you’ll still need to buy platform credits separately to use them in your automations.
Here’s a simple guide to creating an OpenAI Platform account and purchasing credits.
1. Create an OpenAI Platform account
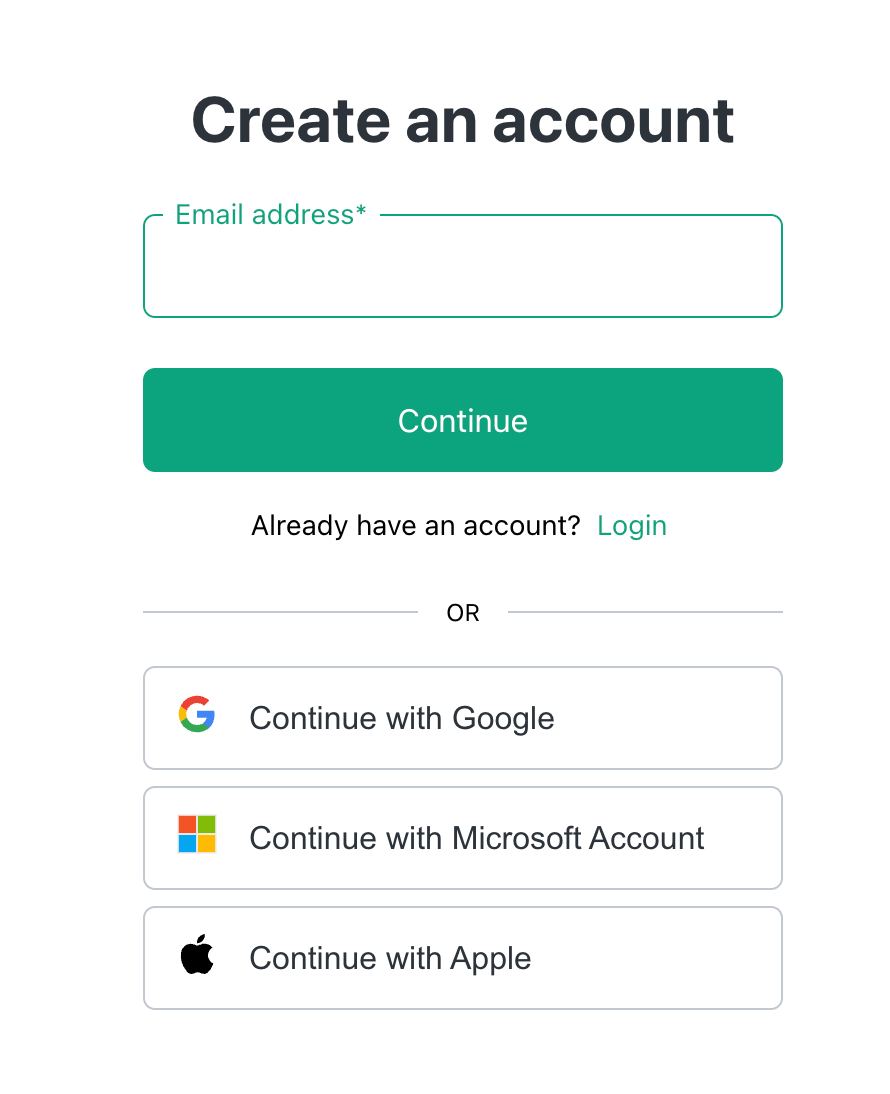
Go to https://platform.openai.com/ and sign up for an account. You can create a new account using an email address and password or your Google, Microsoft, or Apple account.
2. Navigate to the billing page
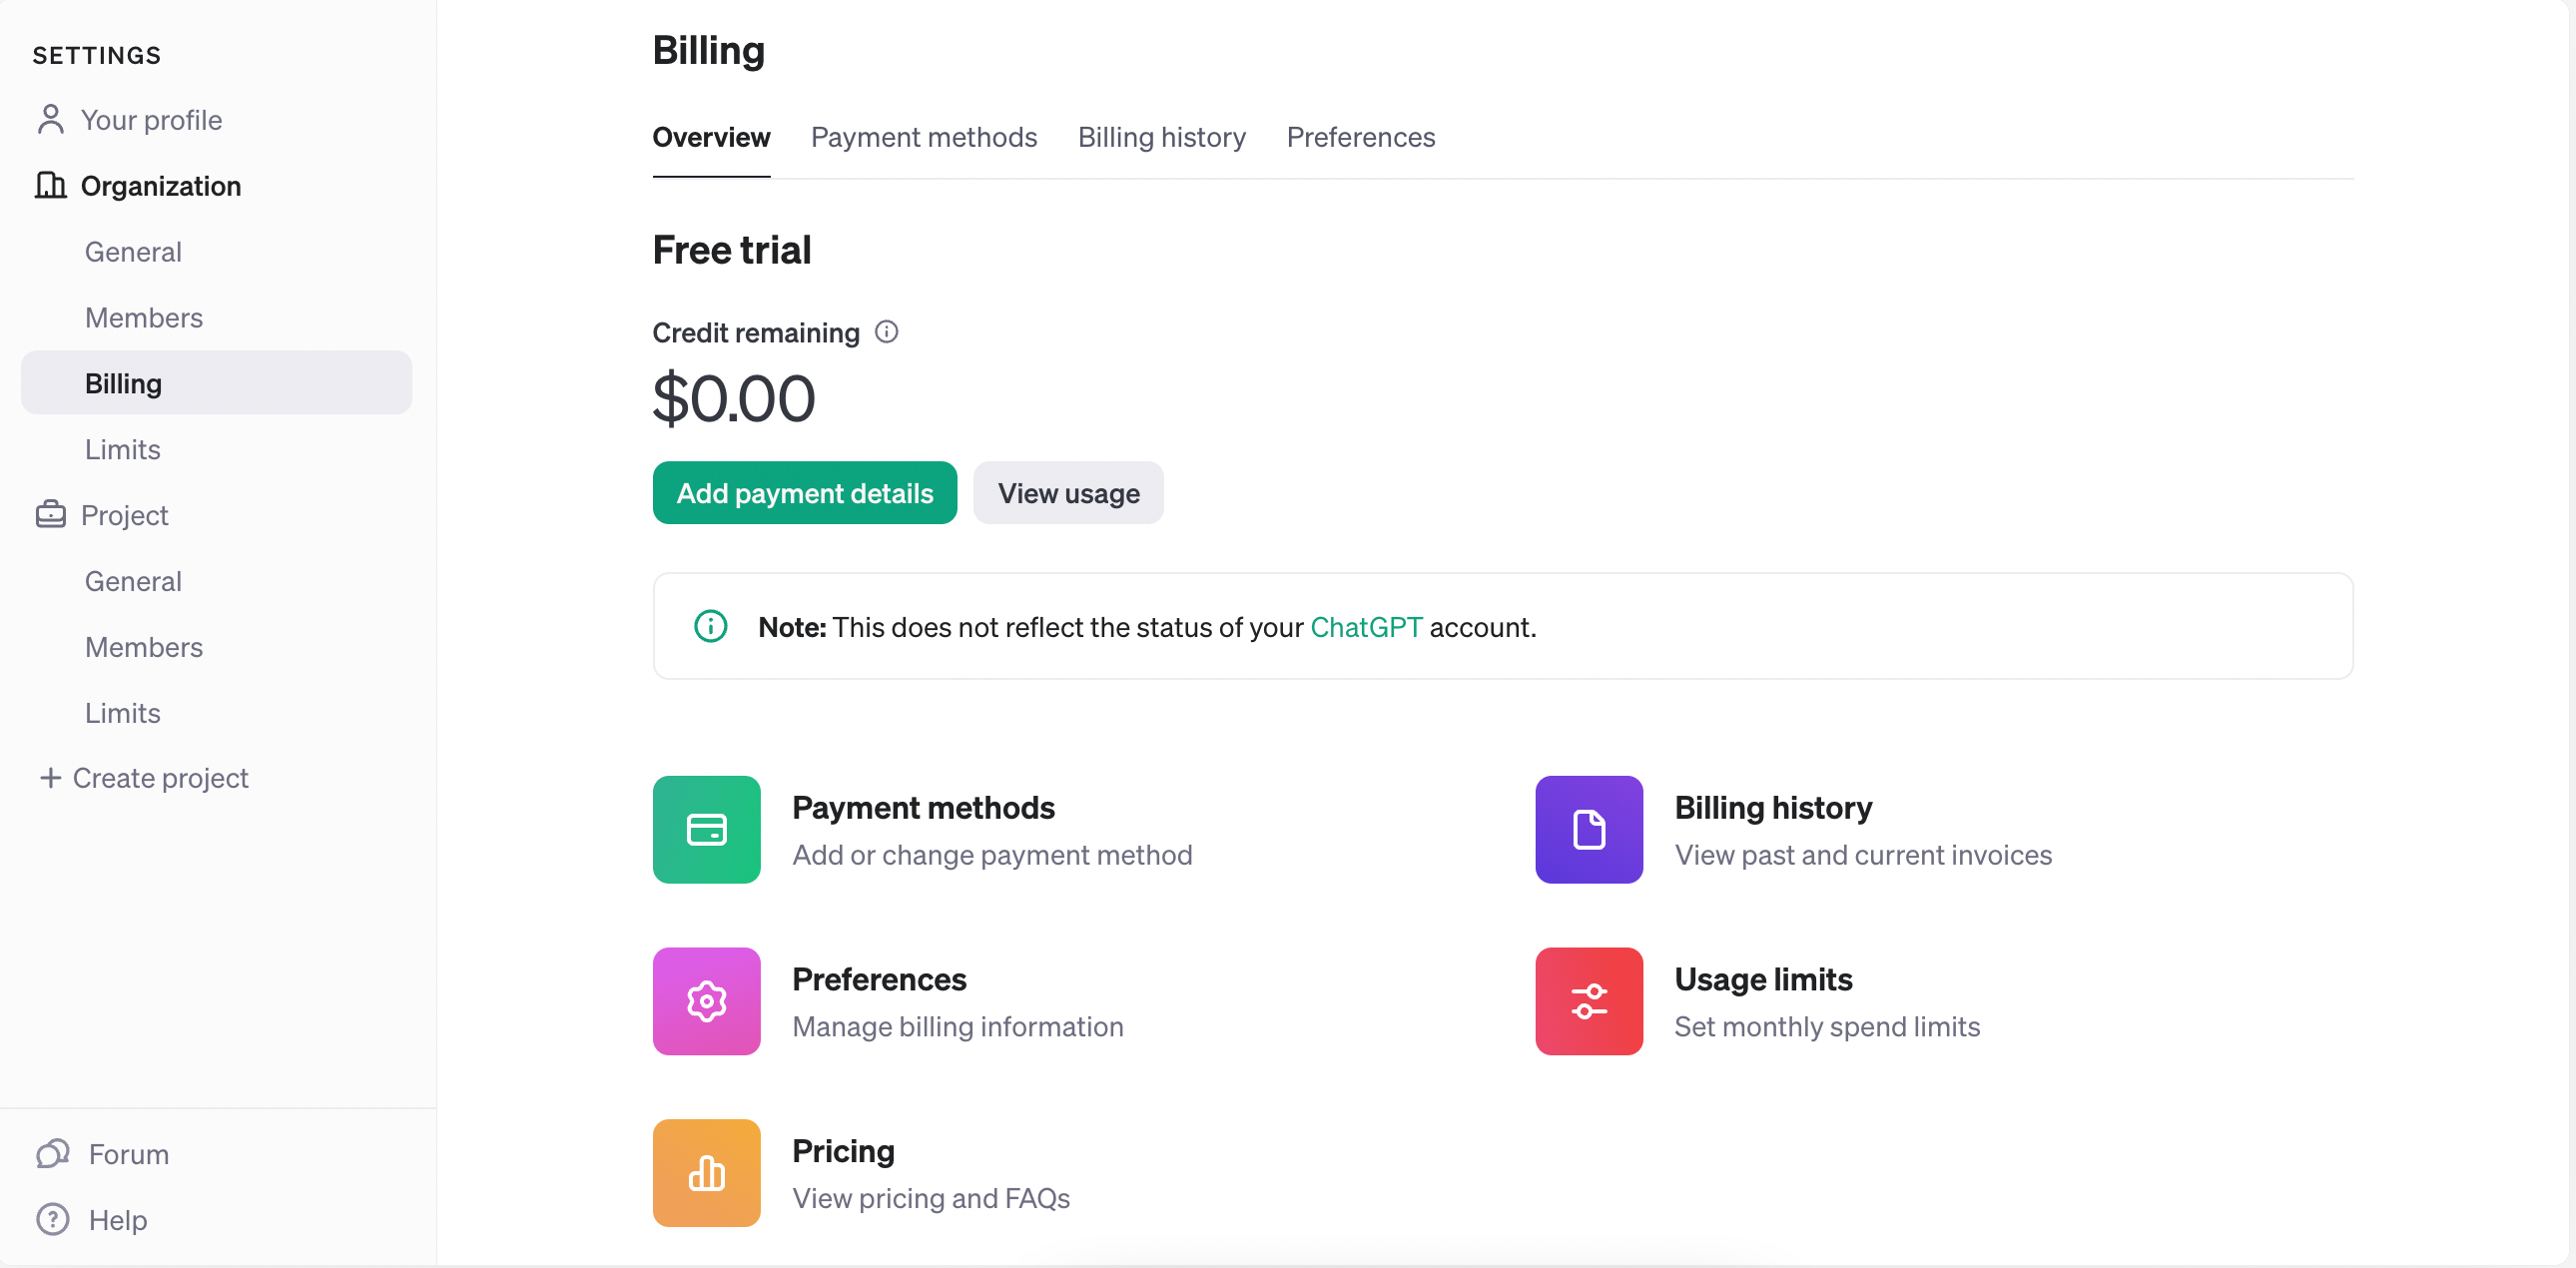
Click on the settings gear and navigate to the billing page. You’ll see how many credits you have and whether a payment method is set up.
3. Add a payment method and buy some credits
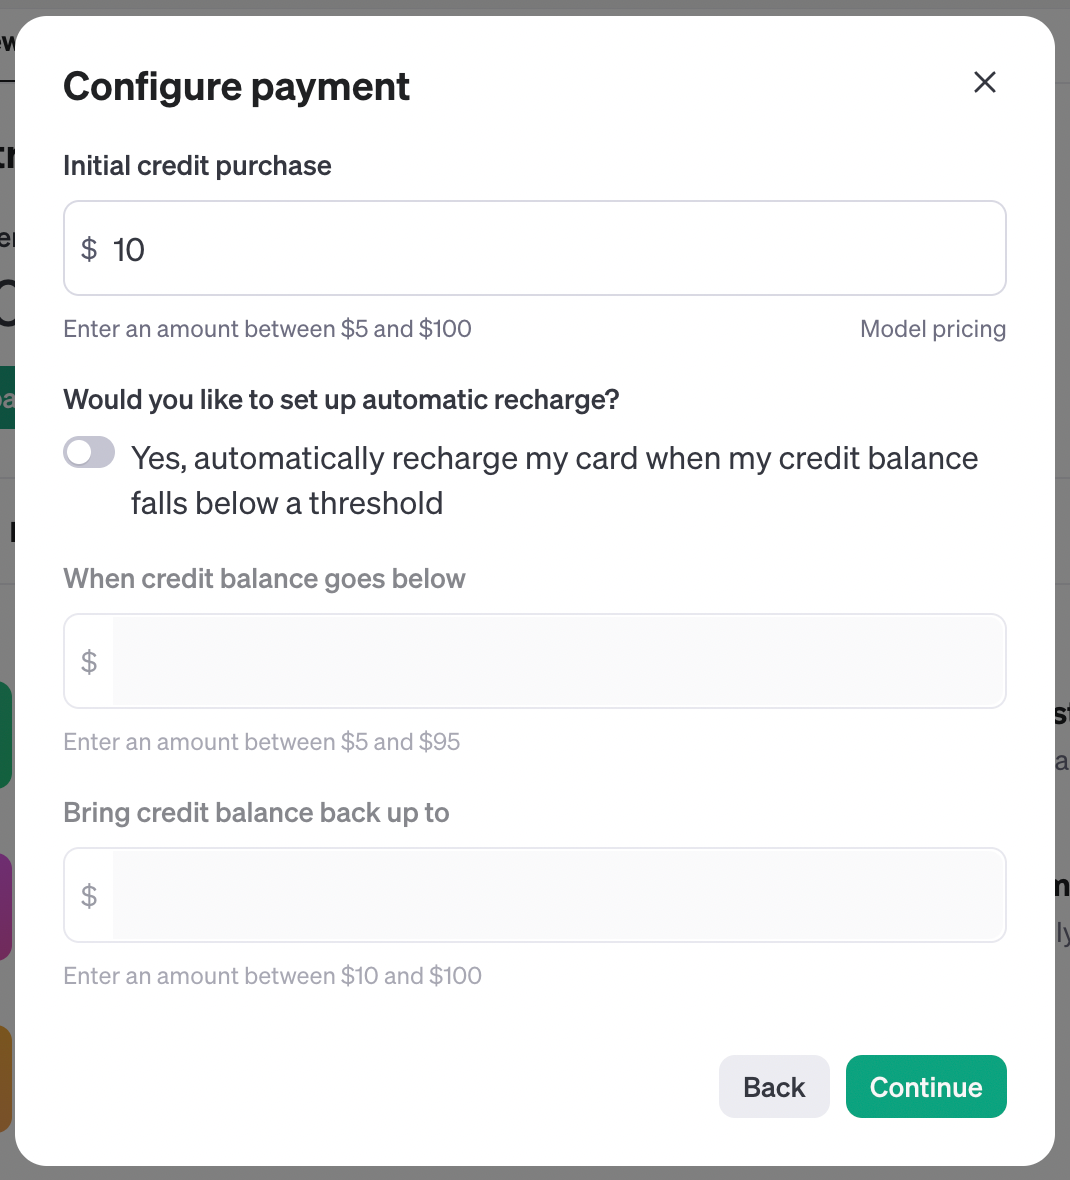
Next, click “Add payment details” directly below the credit count (not “Payment methods”). Choose how many credits you want to buy and decide if you want to recharge credits automatically, but be careful here as costs can rack up really quickly.
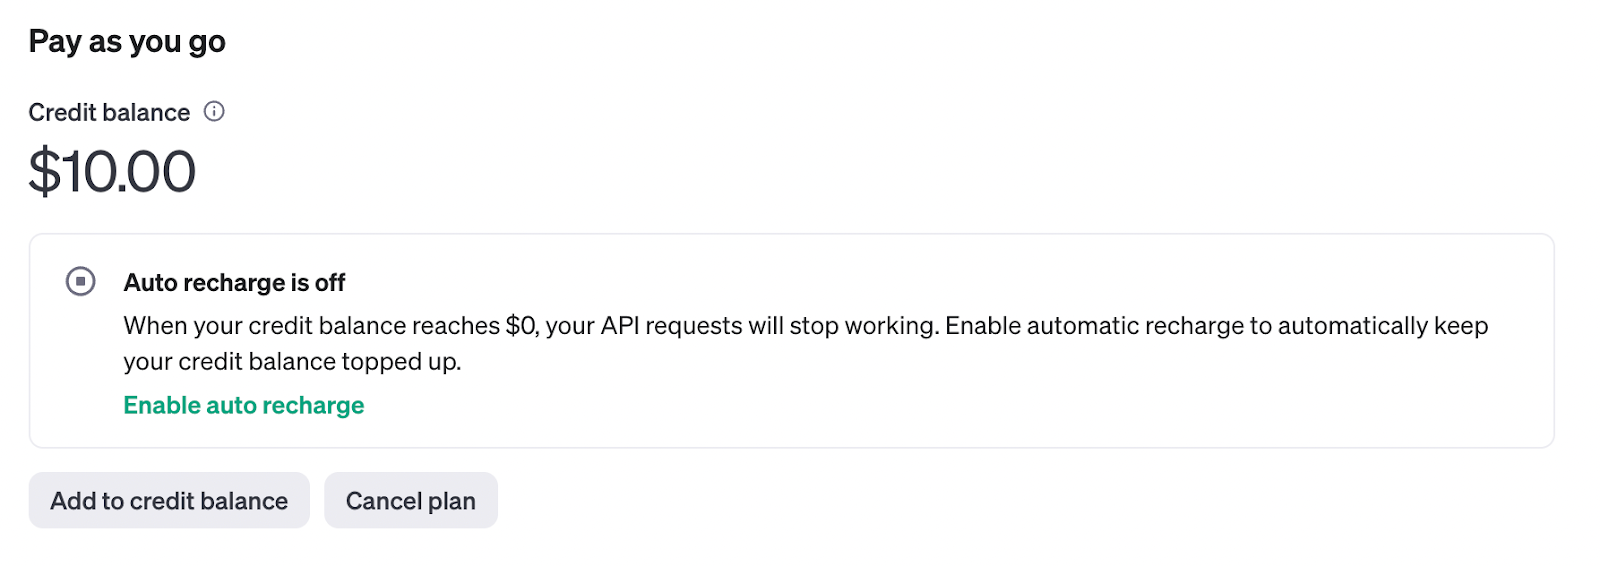
Once you’ve done that, you’ll see your balance and auto-recharge settings.
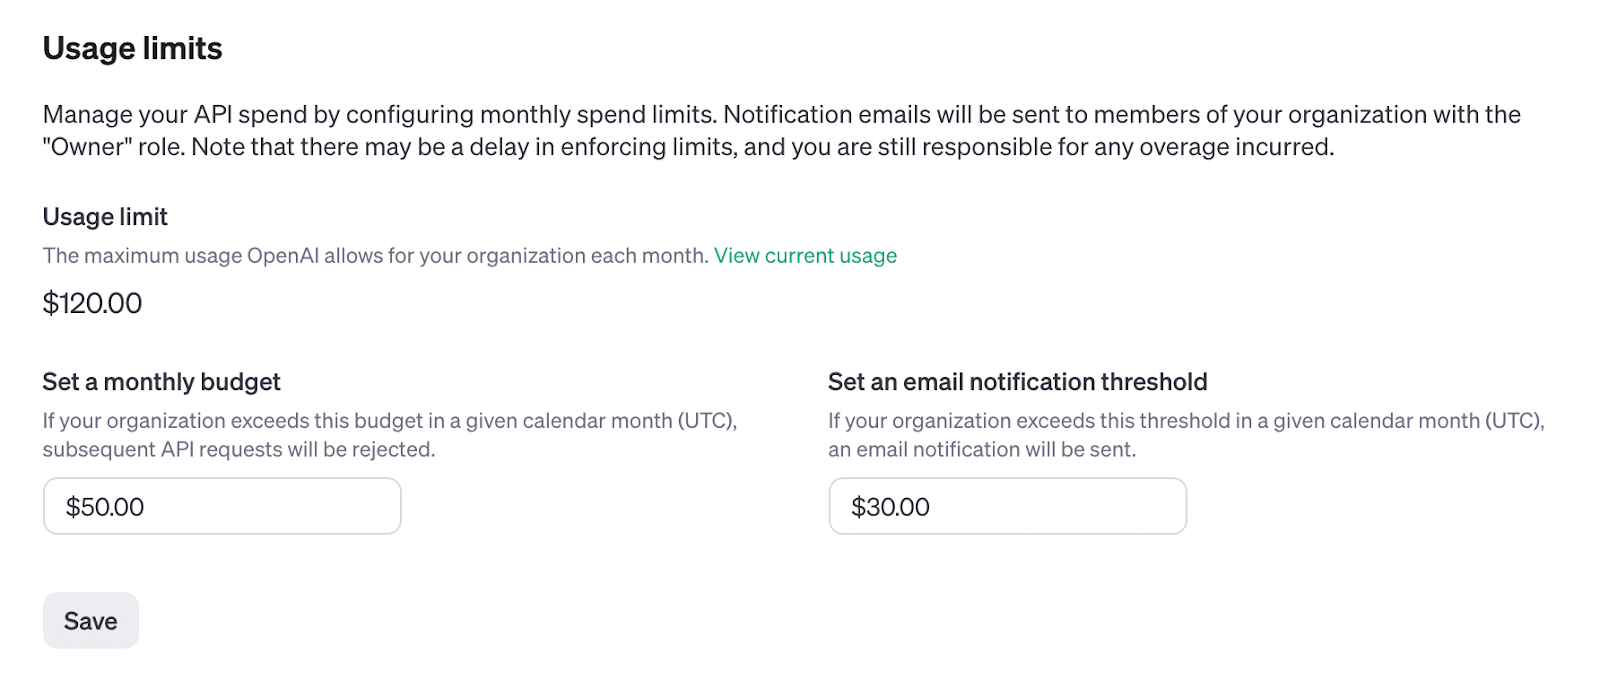
4. Set limits to avoid surprises
If you’re calling OpenAI APIs in frequent automations, you can end up spending a lot of money really fast, so I recommend setting some limits, which you can do via the Limits option in the left nav directly below billing. Here you can configure your monthly budget and when you want to receive an email notification.
5. Connect your OpenAI account to your automation tool
Once you have your account set up with credits, you can connect it to your favorite automation tool. Here’s how to do it in Relay.app. Go to Settings → Your integrations, scroll to or search for OpenAI, and hit Connect. From there you’ll be prompted for an API key, which you can generate by following the link provided to the API keys settings page in OpenAI.

Follow the link to create a new secret key in OpenAI and name it appropriately for its usage, like “Relay.app.”
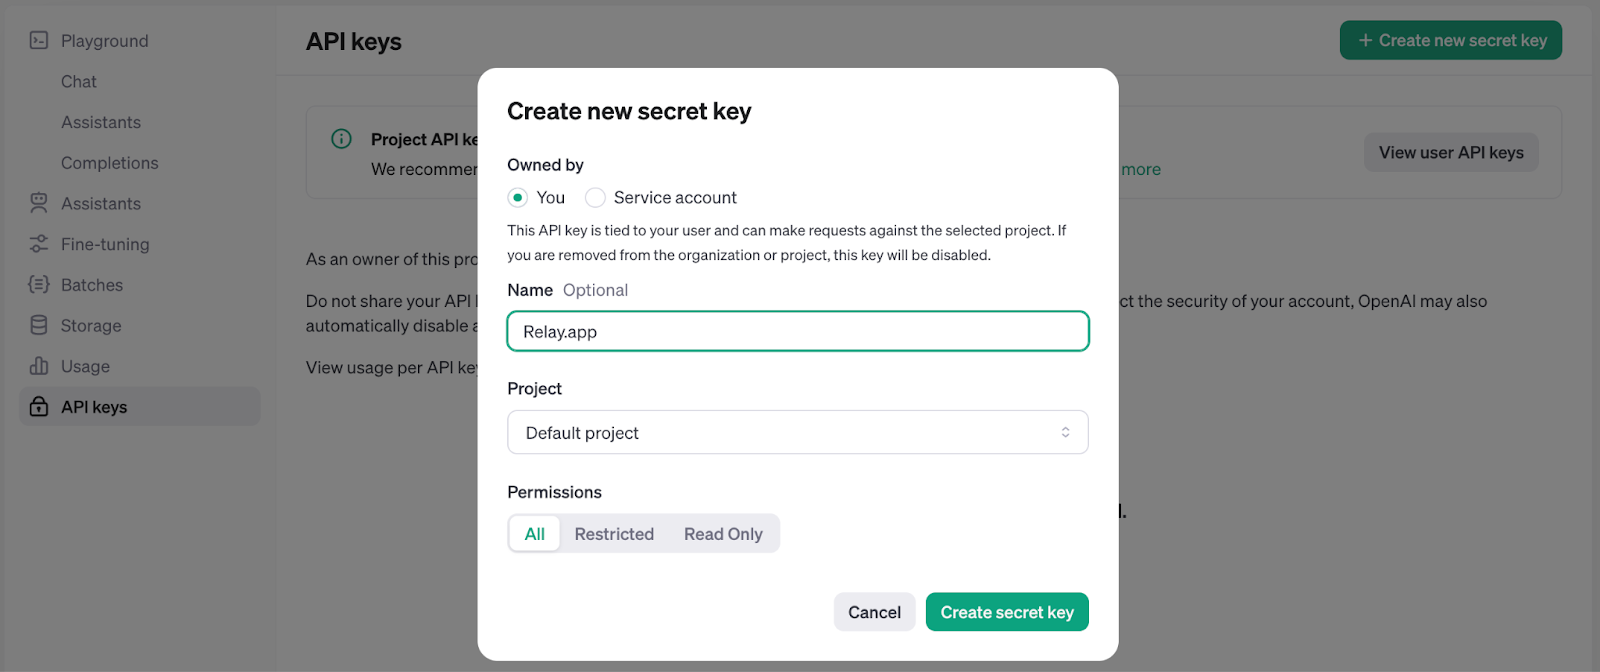
Then, copy that resulting secret key string and paste it into the text box in Relay.app. From there, you’re ready to start using OpenAI models in your automations!
Want to skip the hassle of buying OpenAI platform credits? Use Relay.app AI credits.
Relay.app lets you access all the top AI models, including OpenAI, using a unified AI credit system. This means you can build AI agents and automations on OpenAI models without setting up your own OpenAI API key, and without needing to buy platform credits!
Every Relay.app plan comes with AI credits, which you can use for OpenAI, Anthropic, Gemini, and other model providers. If you need more credits, you can top up your plan with additional credits as needed.
Even the Relay.app free plan includes free AI credits that reset every month, so you can try out building AI agents and automations with top OpenAI models before you commit to a plan. You can sign up for free today.

