When you're working with a list of items, you often need to write that entire itemized list into a document or an email. For example, you may need to write an email with a list of tasks that were completed today, or create an invoice with many individual charges.
This has historically been really difficult to do in automation tools! You needed to iterate over your list and use a separate data store to keep track of the itemized presentation of the list as you build it one step at a time.
We just introduced a new feature in Relay.app called "Unroll" that makes this way easier! Instead of a complex iterator, you can specify how you want your list to be itemized inline right where you're using the text (e.g. in an email or a document).
Here's a quick step-by-step guide of ow to use Unroll to write an email with all of the tasks that were completed today.
1. Set Up Your List
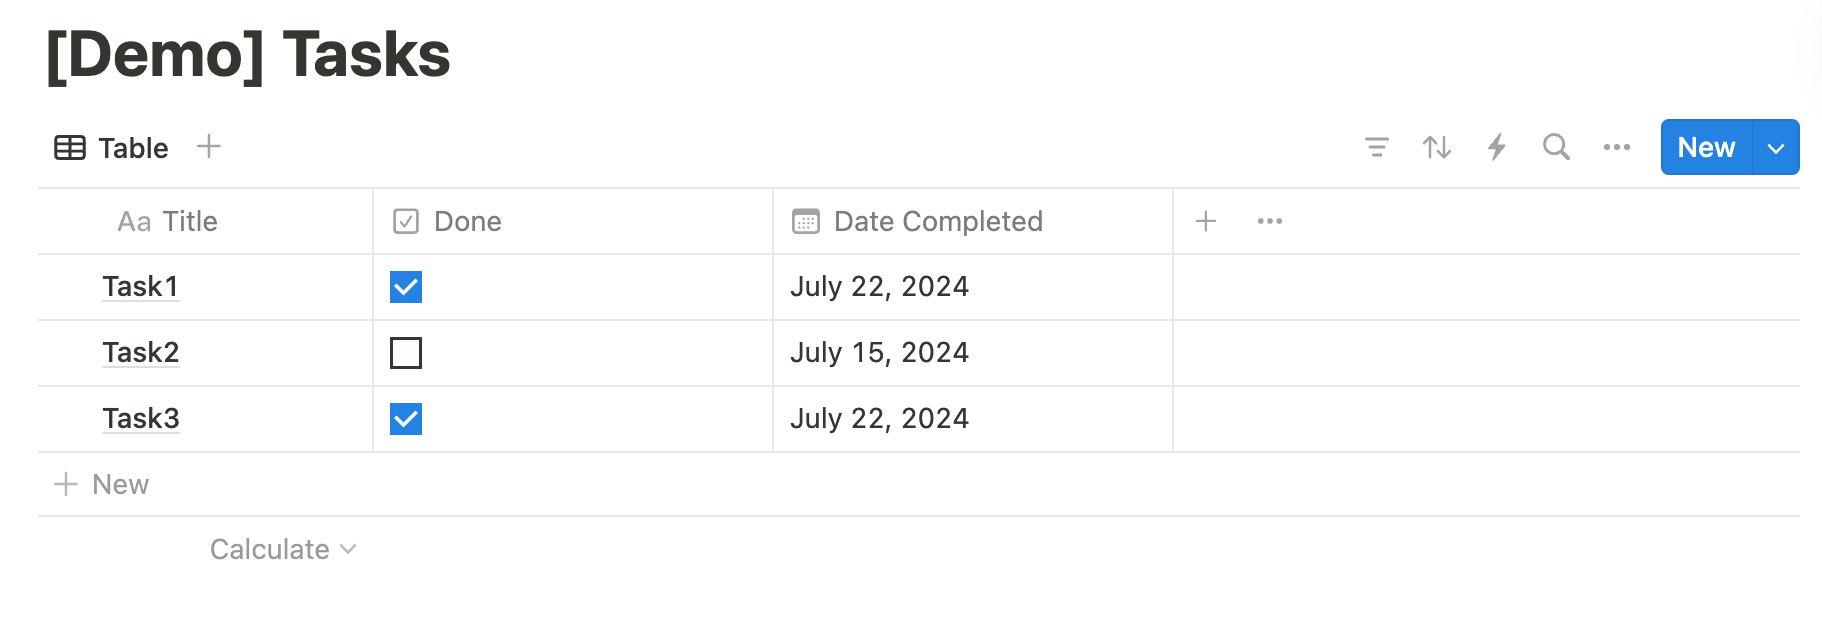
In this example, we have a Notion database of tasks, each with a title, a done state, and a due date.
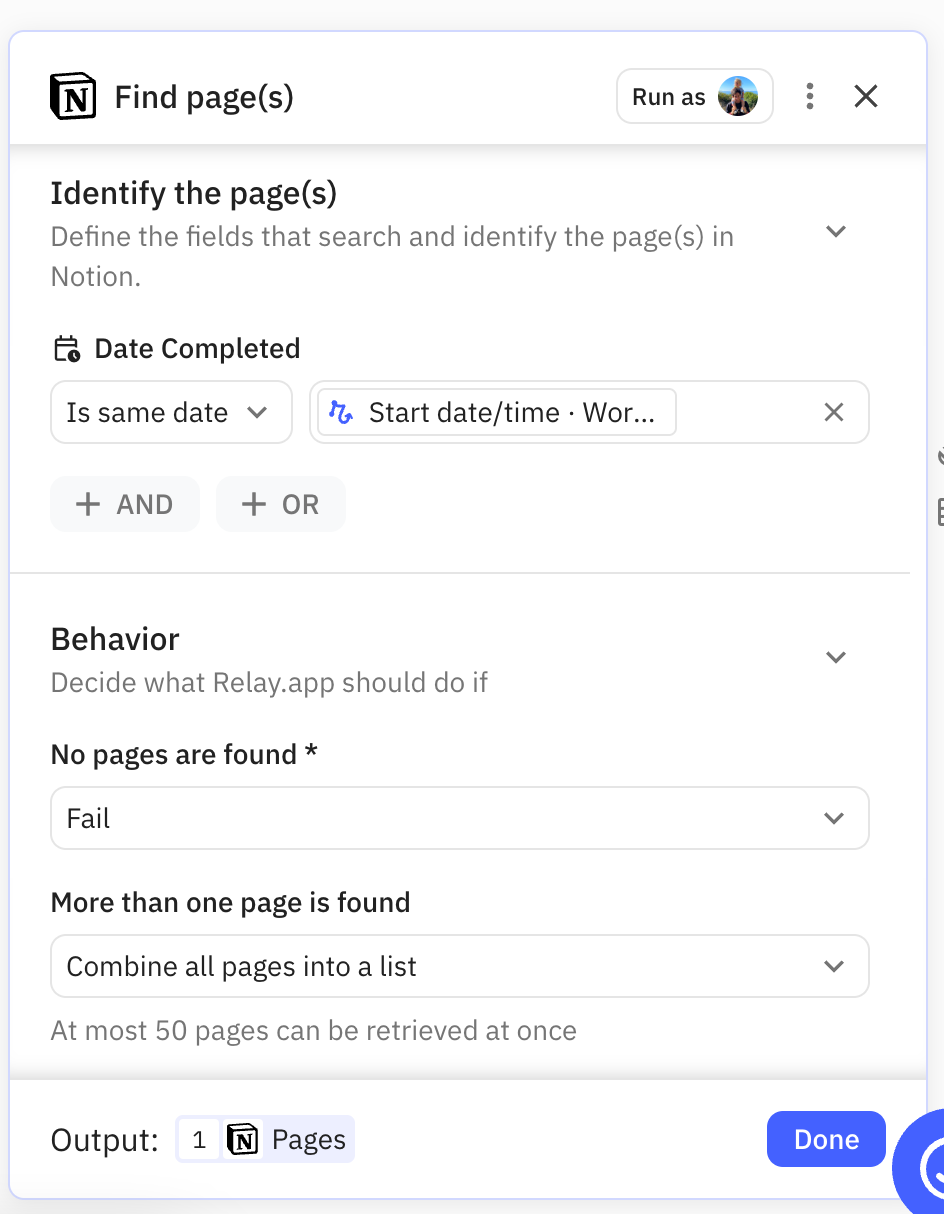
As a first step in our Relay.app workflow, we need to assemble the list of items that we want to use. In this case, we'll use a "Find" step in Notion to create a list of the Tasks that were completed today. Make sure that you update the setting of "If more than one page is found" to "Combine all pages into a list".
2. Create your Automation
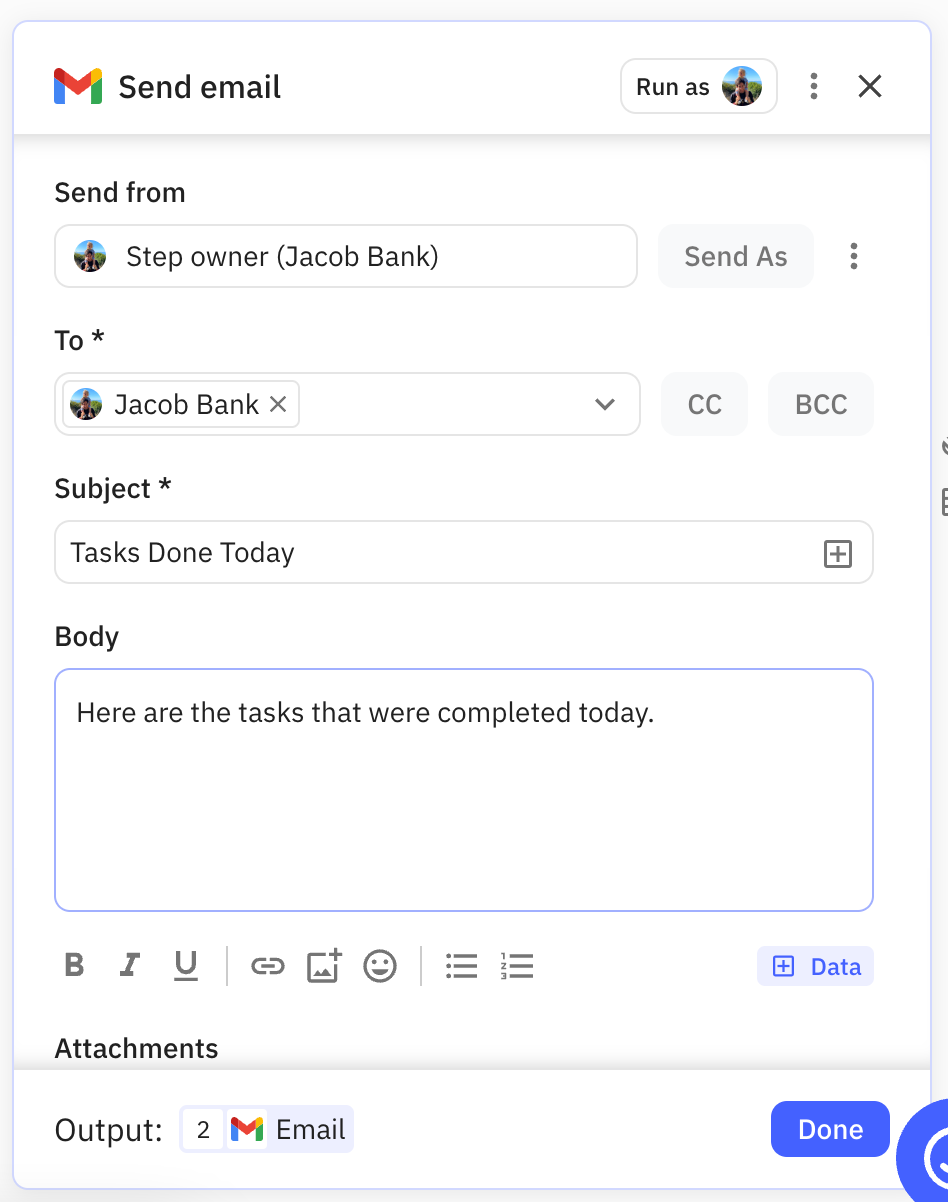
To use the list you've just created, you'll need to create an automation that uses a text editor, for example a Send Email automation. Include any text that you want to appear before or after the itemized list.
3. Unroll your list
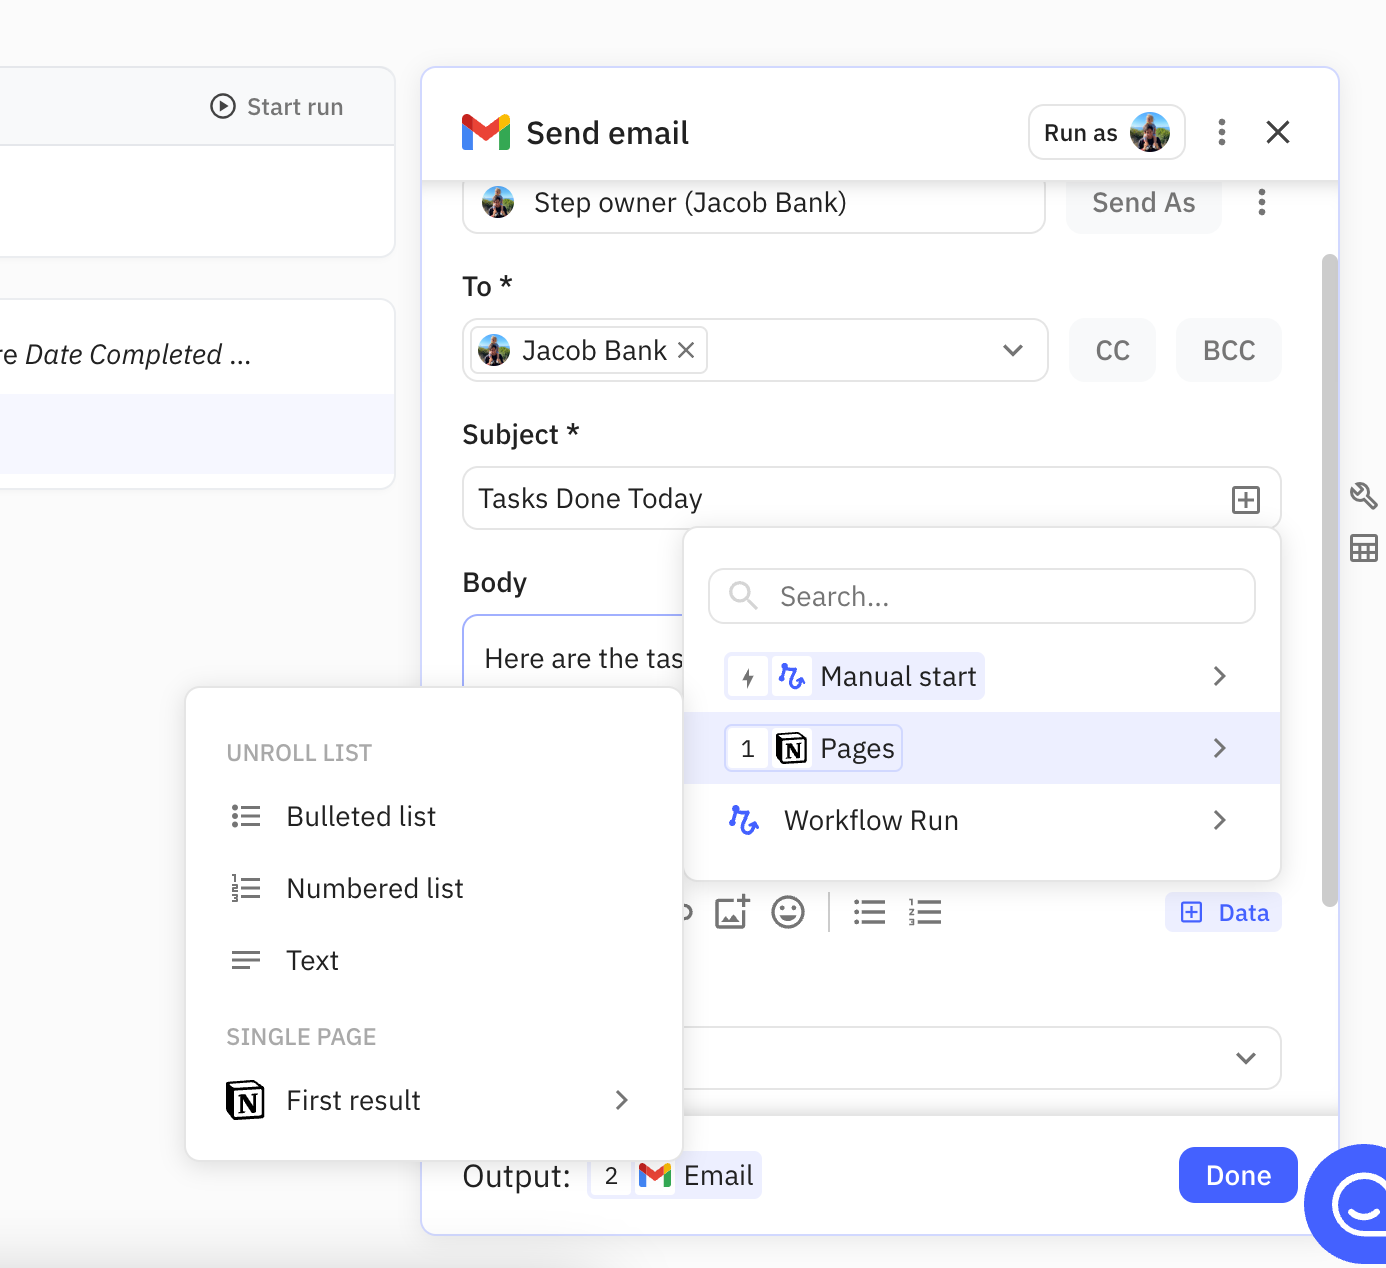
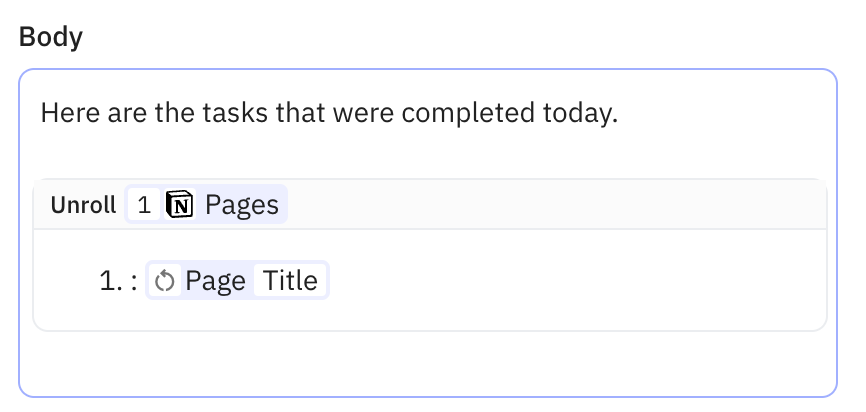
Next, in the data menu, hover over the list of items you want to unroll. You'll se that you have a few display options for your itemized list: bullets, numbers, or plain text.
4. Format Each Item
Once you select the styling of your unrolled list, you can format how you want each item to appear. In this example, we'll keep it simple and just include the title of the task, but you can add more data and richness as needed.
5. Test the Workflow
Finally, create a test run and confirm that the email includes the itemized list with the correct presentation.
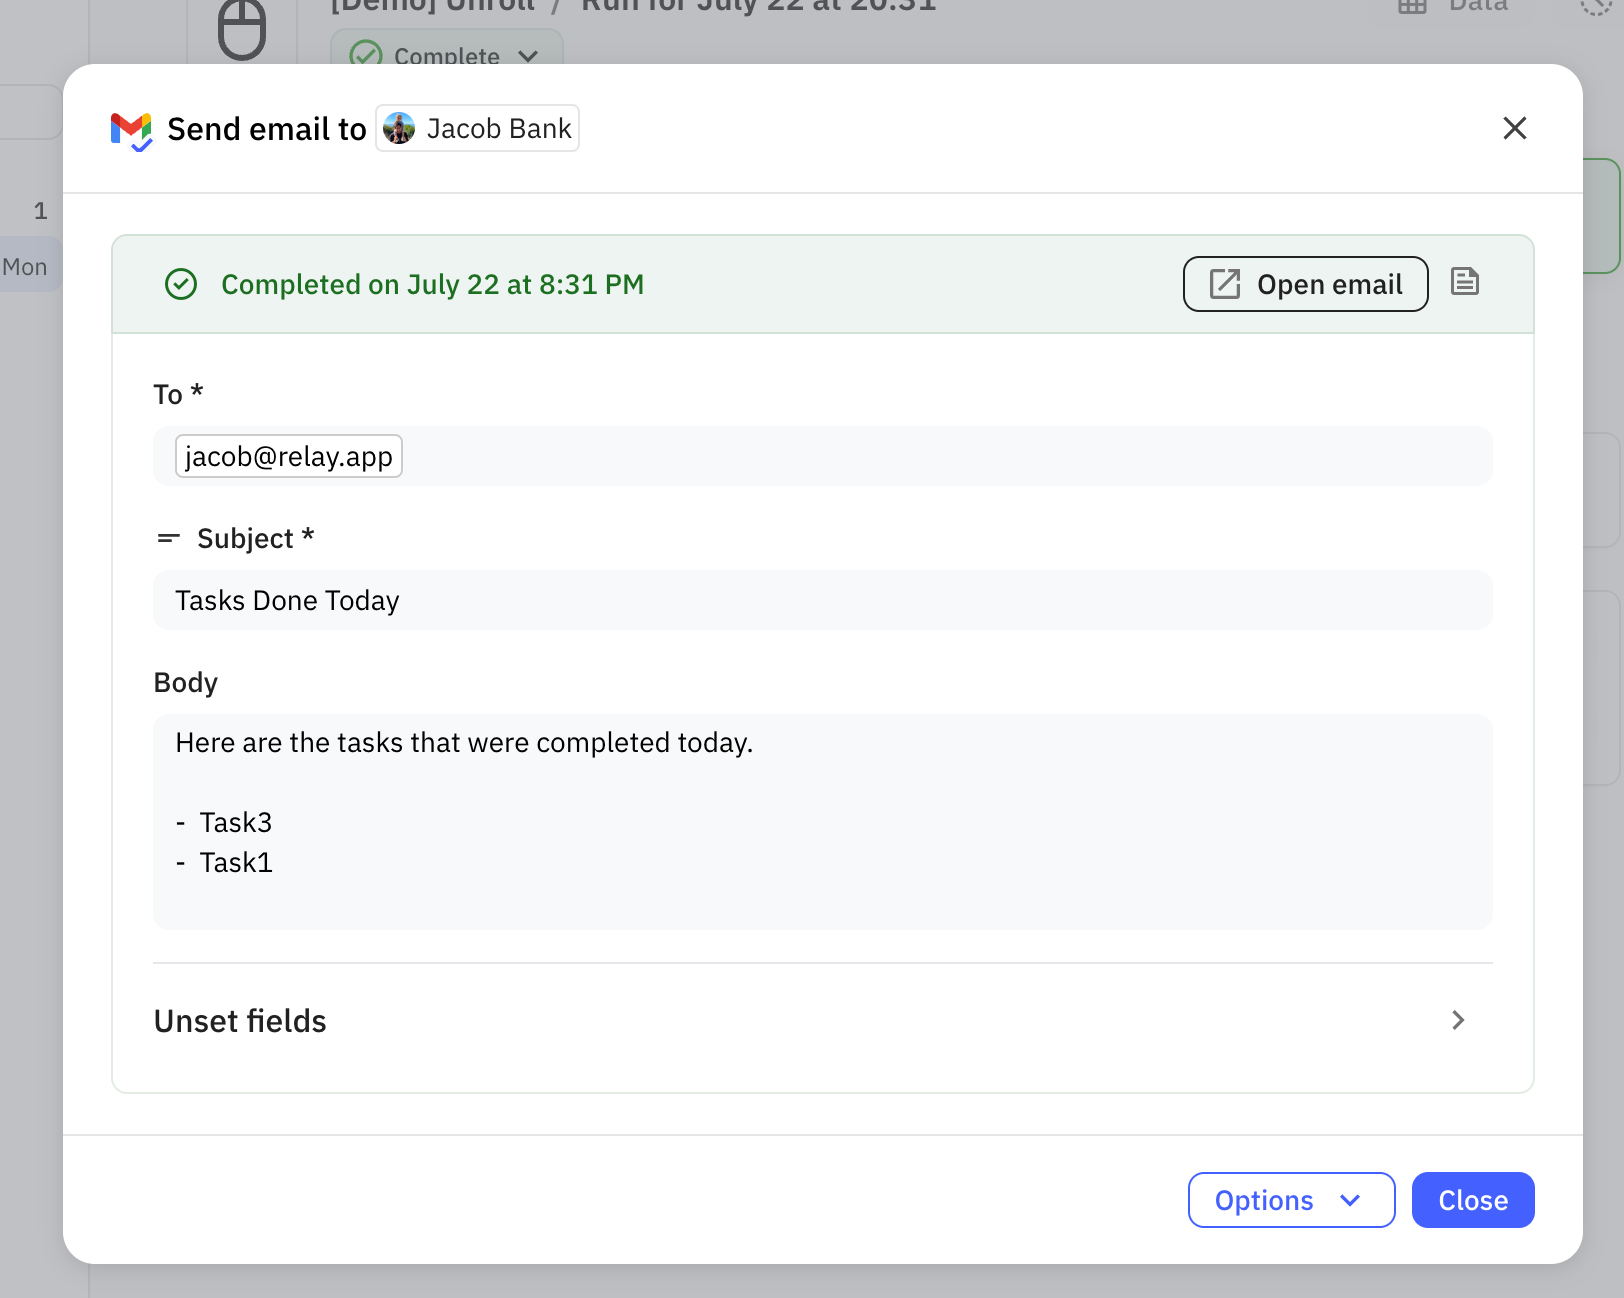
And that's it! Now you're ready to unroll any list you need in an email, doc, or Slack message.

