If you're a social media manager, content marketer, or entrepreneur, you probably have:
(a) a blog
and
(b) social media handles, including Twitter/X
And as a best practice, every time you publish a new blog post, you likely want to share it via your social channels. For a long time, I was doing this manually and I would either forget to make social posts or do so way too late. Plus, writing the posts was tedious and time consuming. Now, with AI automation, there's a better way!
In this tutorial, I'll show you how to set up an AI-powered workflow in Relay.app that uses AI to automatically write and post a tweet every time you publish a new post on your blog. Relay.app has two main advantages over other automation tools for this use case:
1. AI is built in and included in the free tier, so there are no extra AI accounts to connect or barriers to getting started.
2. Relay.app lets you add "human-in-the-loop" steps so you can review, edit, and approve your Tweets before they're posted.
You've probably already tried using ChatGPT to generate tweets, and this workflow takes it to another level by doing it automatically for you.
With that, let's dive in step-by-step! If you prefer watching a video to reading a post, here's a short video tutorial:
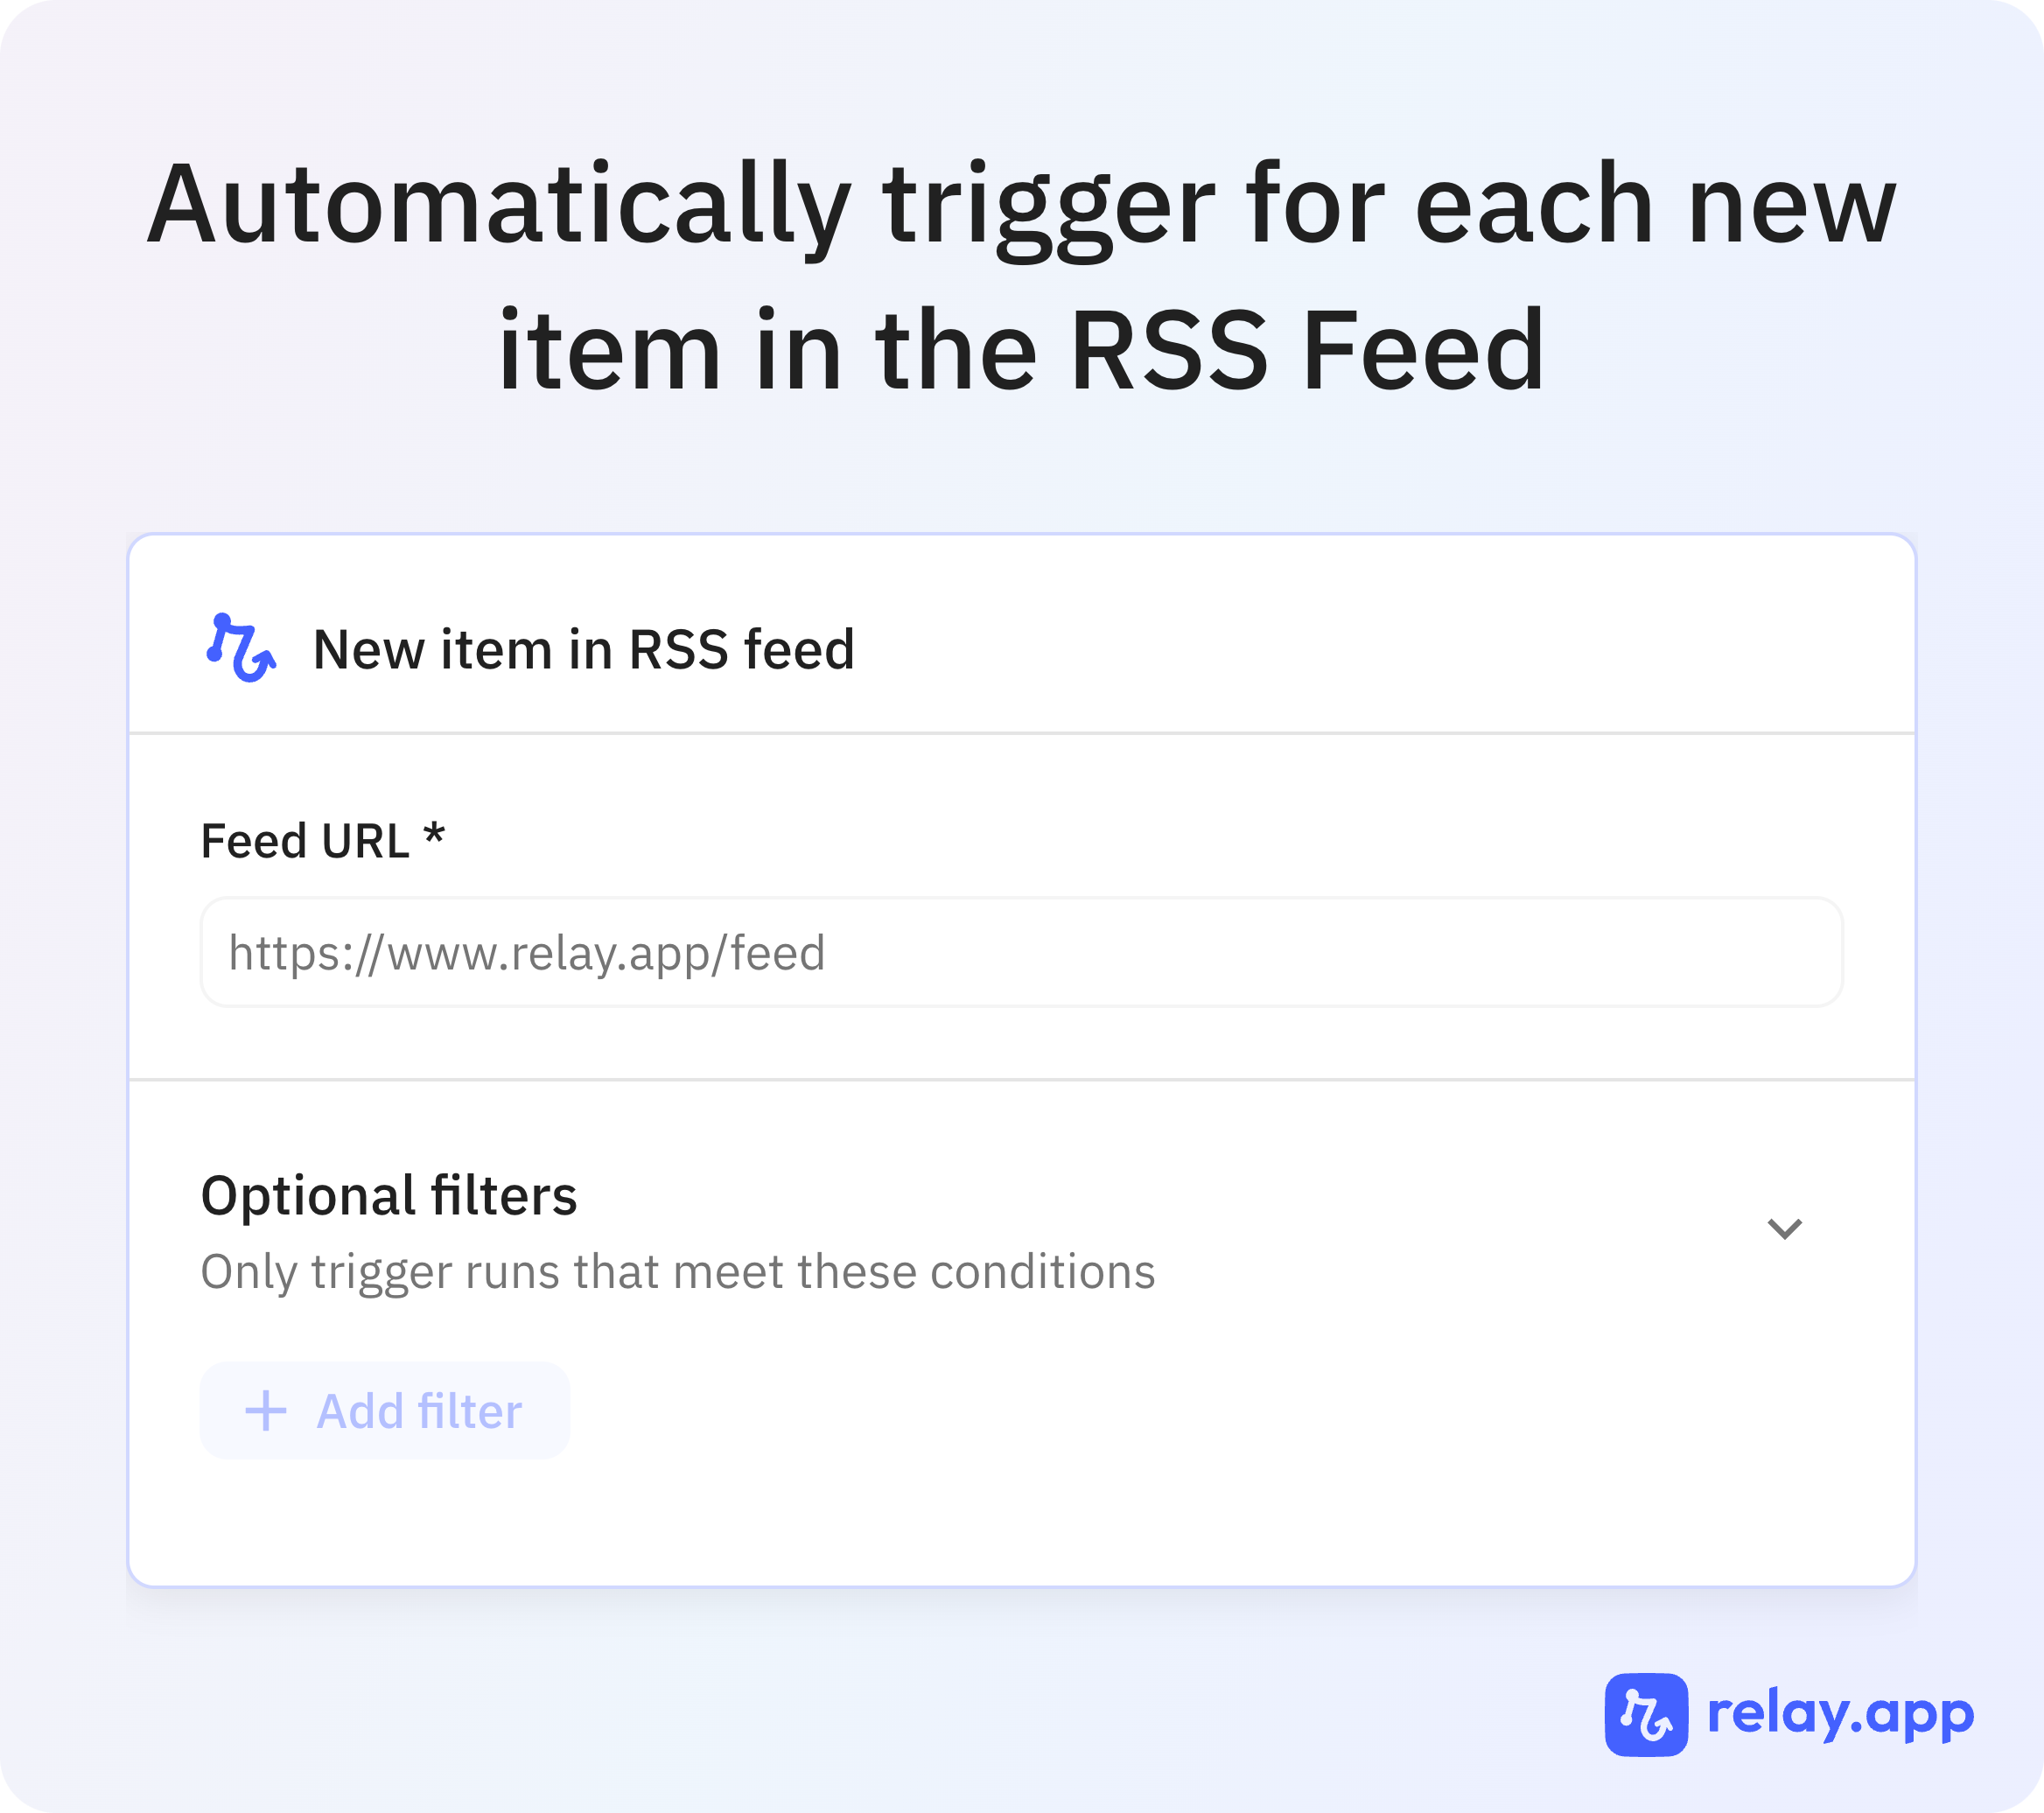
1. Set up your trigger
The first step to setting up this workflow is to create a trigger that will automatically activate each time a blog post is published. For new blog posts, we'll use the "New item in RSS feed" trigger. To configure the trigger, enter the URL of the RSS feed of the blog, and optionally include any filters you want (e.g. author or topic) if you want to exclude some blog posts from the workflow.
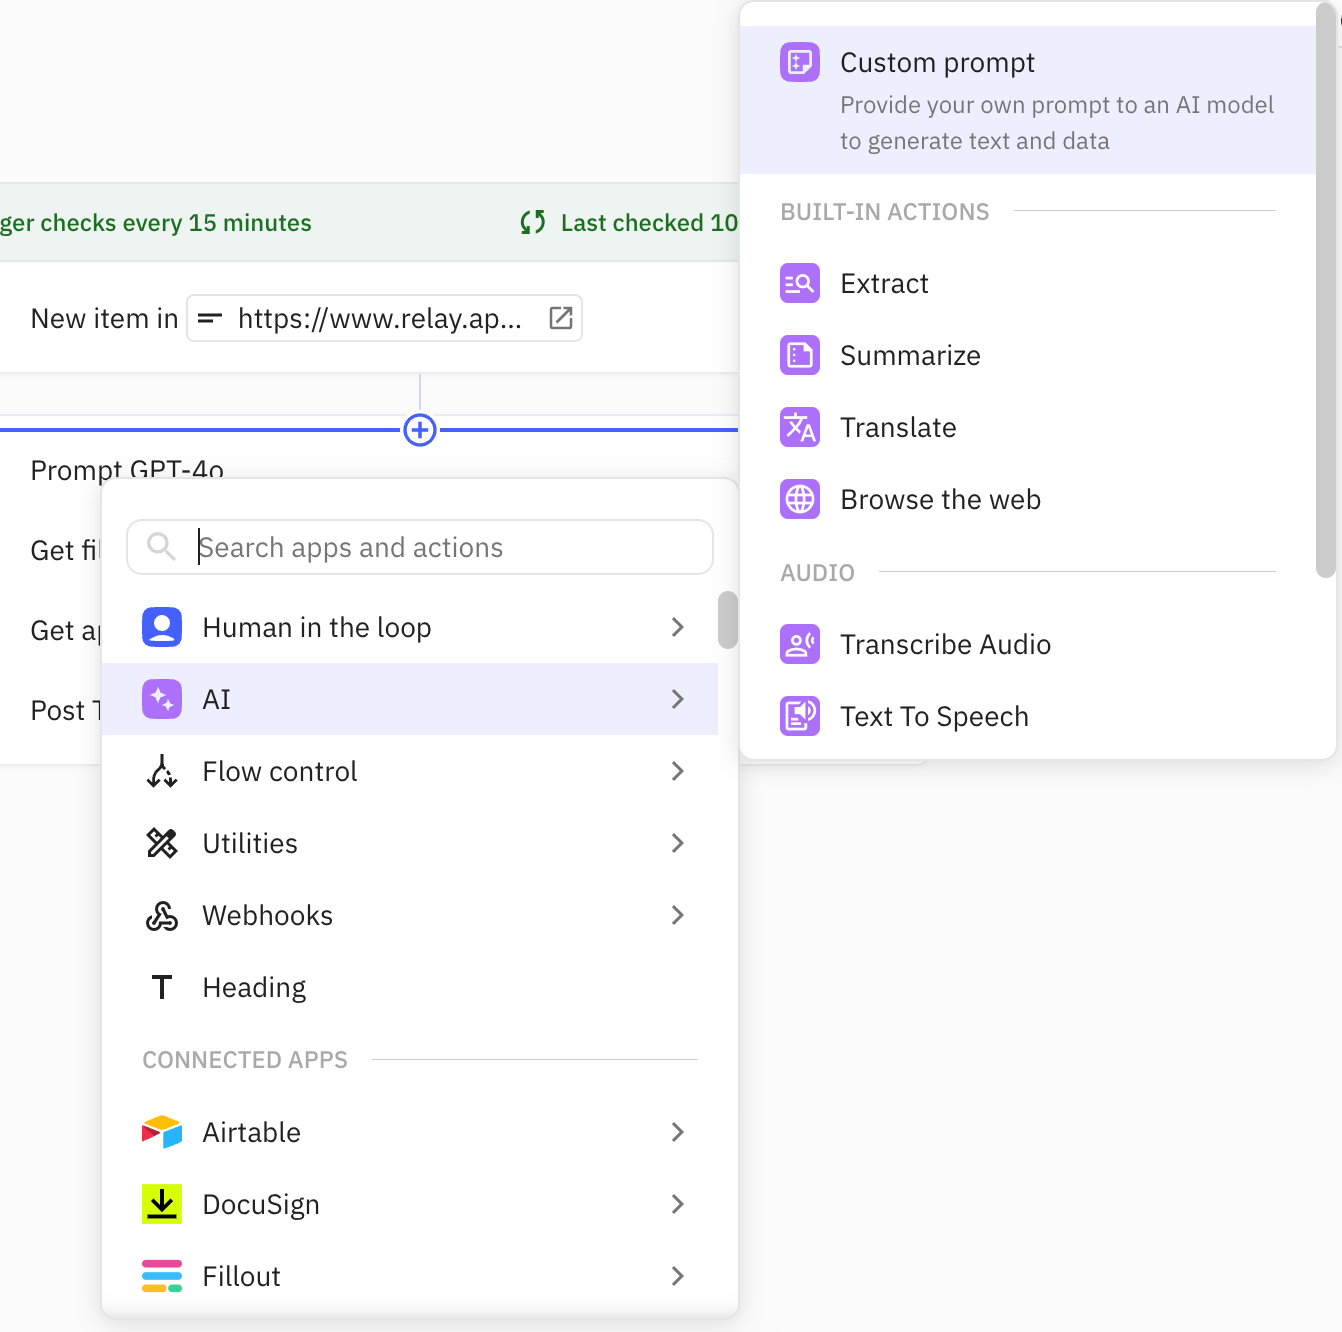
2. Add your AI Step
The next step in the workflow is the most important one: the AI step that will draft the Tweet for you. To create an AI step, select the plus button to create the next step, navigate to the AI menu, and choose "Custom Prompt". By default, this will use OpenAIs GPT4o-mini model, which is the same one you've likely used in ChatGPT.
Next, draft your prompt to both create the Tweet text and optionally also return the URL of a chosen image. Here's an example prompt, but feel free to iterate on it to best match the tone and style of your Twitter/X account.

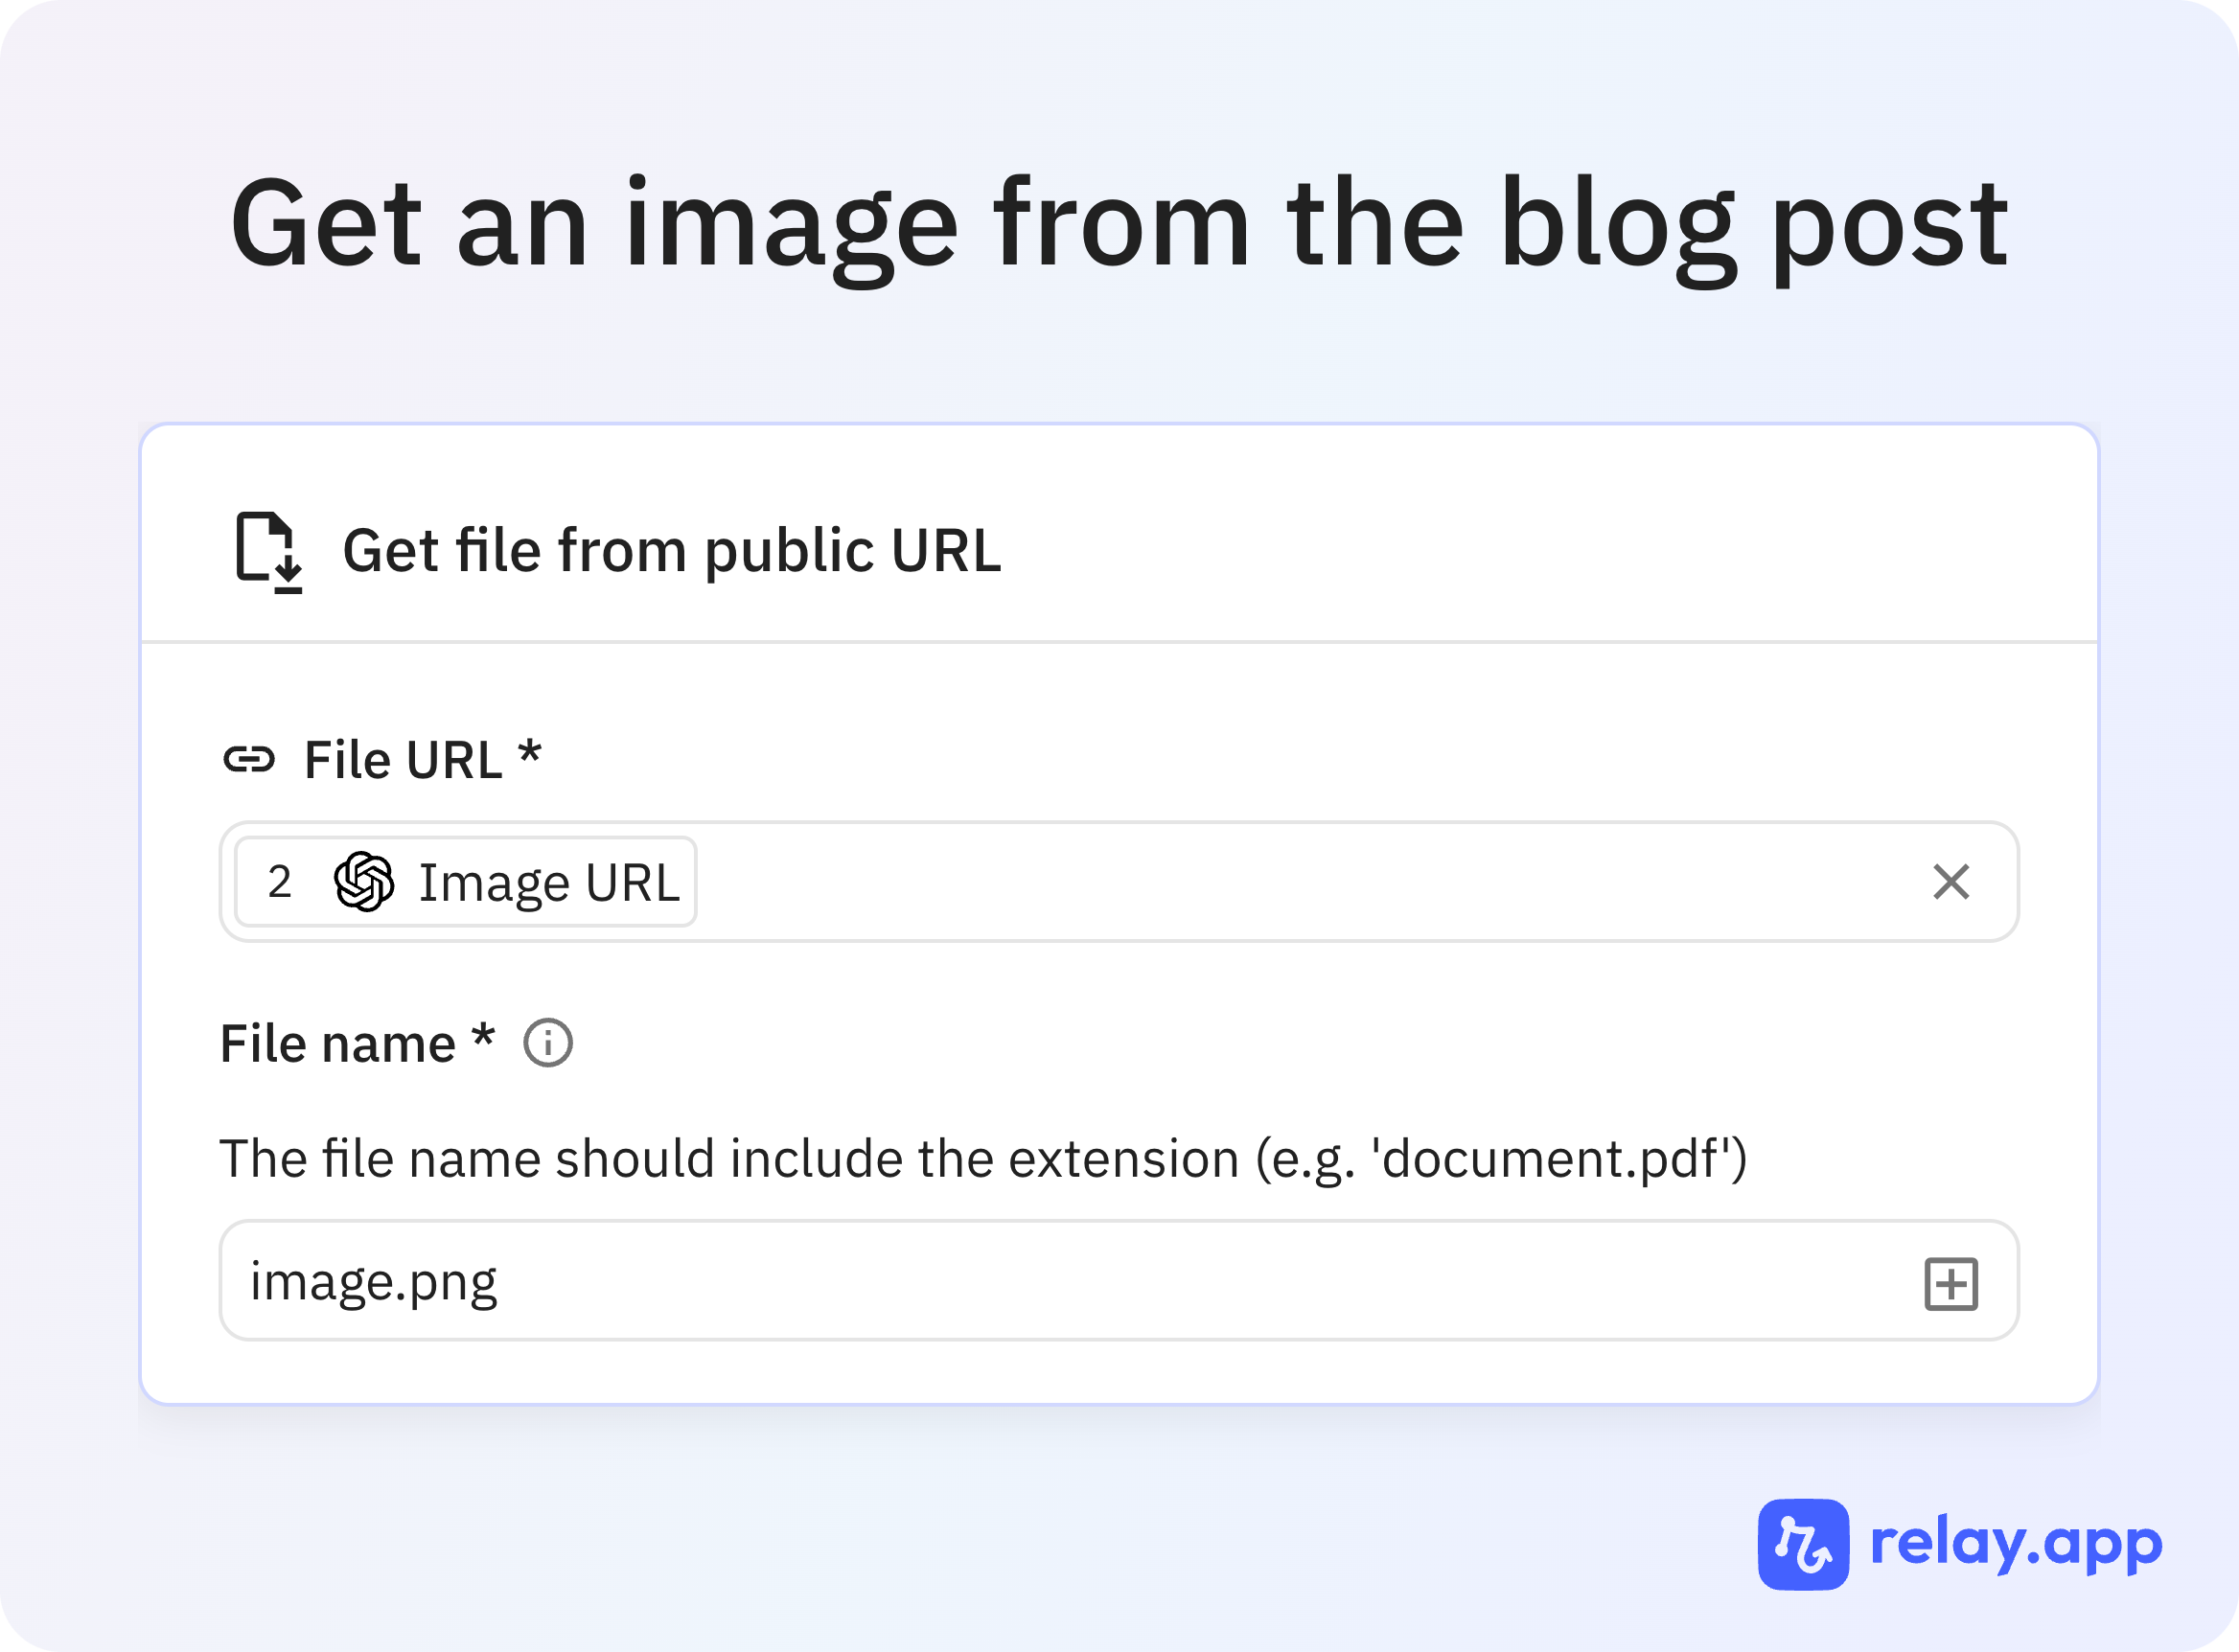
3. [Optional] Add your image retrieval step
If you want your Tweet to include an image, you'll need to retrieve an image file from the blog post. To do this, select Utilities -> Get file from URL and enter the Image URL from your AI step.
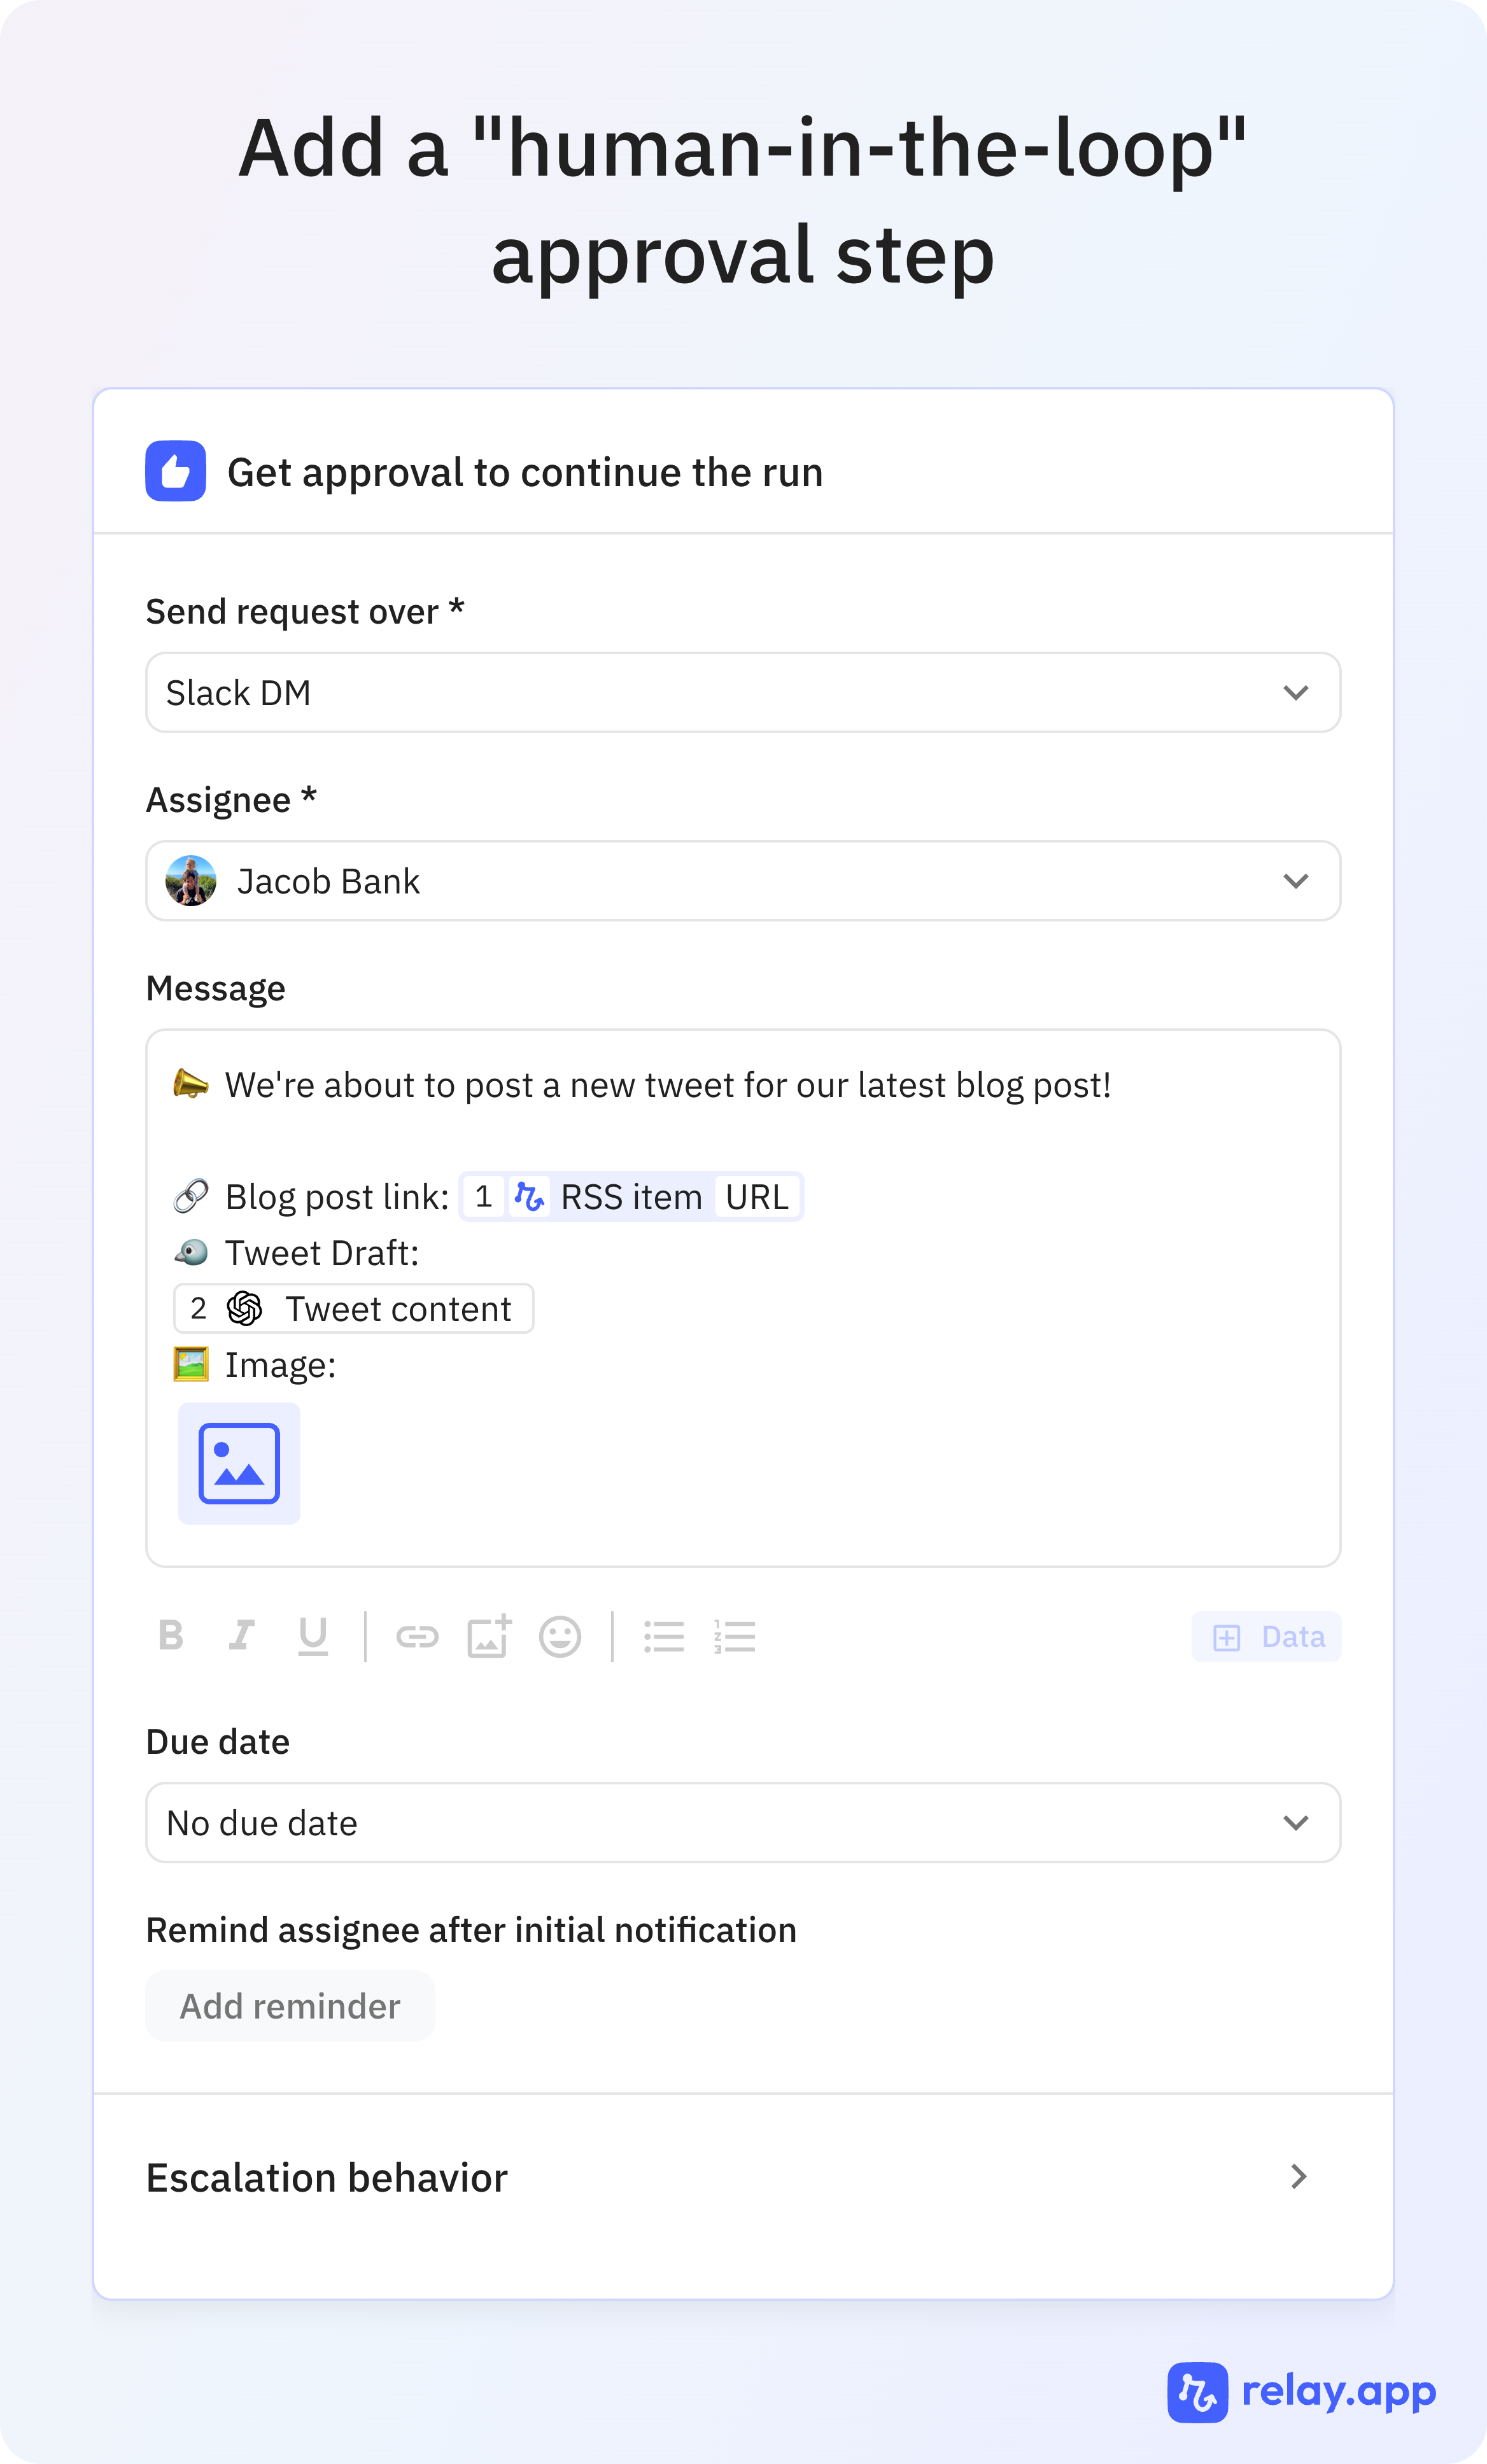
4. [Optional] Add a human-in-the-loop approval step
If you want to be extra confident that the AI is going to write a great tweet, you can add a human-in-the-loop step to approve the Tweet before its posted. You can either do this for the first few runs as you iterate on your prompt and then remove this step, or you can keep a human-in-the-loop indefinitely. You can configure the information you want the approver to receive over Slack and email. Here's an example:
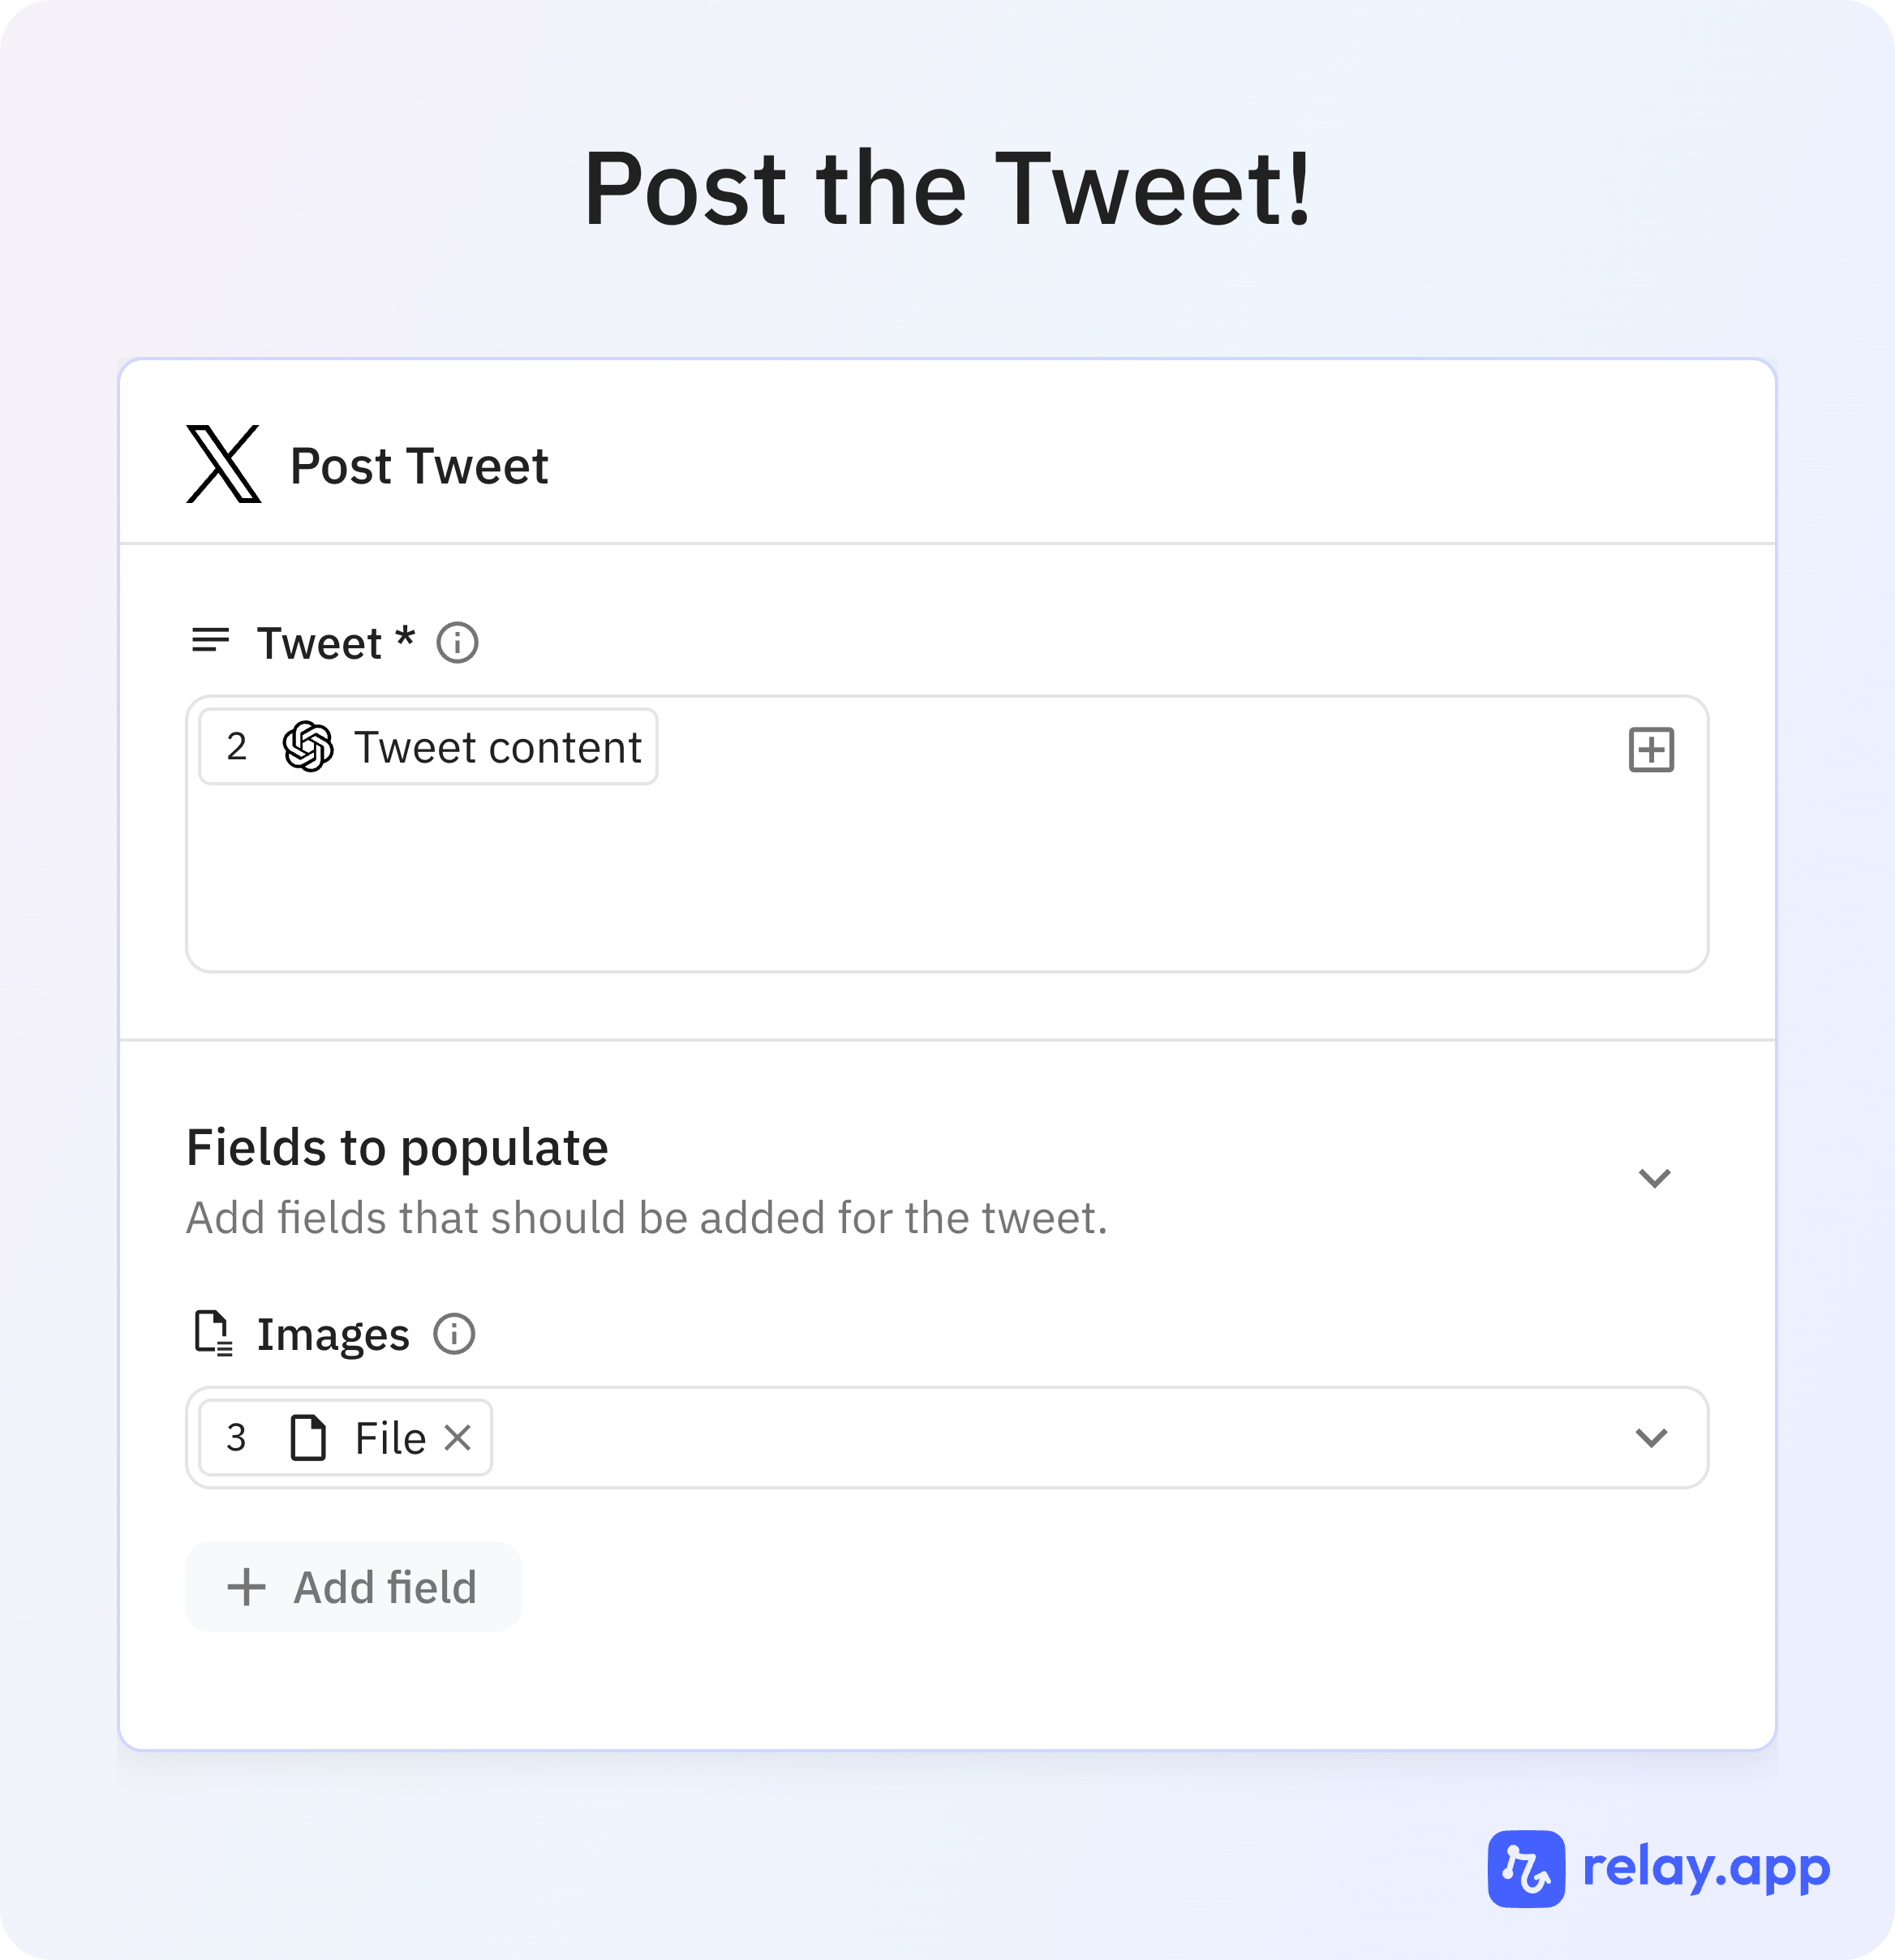
5. Add the final step: Post Tweet
Last but not least, you can add the automation to post the Tweet to your Twitter / X account by referencing the AI output of the earlier Custom Prompt AI step.
6. Test and turn on your workflow
To test the workflow end to end, you can select "Start a test run" and choose an existing blog post. That will give you a full demonstration of the AI step, the human-in-the-loop approval, and the automatic posting. If there's anything that's not working perfectly, you can update your prompt and continue testing until you're happy with the results. When you're ready, turn on the workflow!
And that's all there is to it! It will probably take you less than 15 minutes to set this up, and you'll never have to remember to write a tweet for a new blog post again!

